
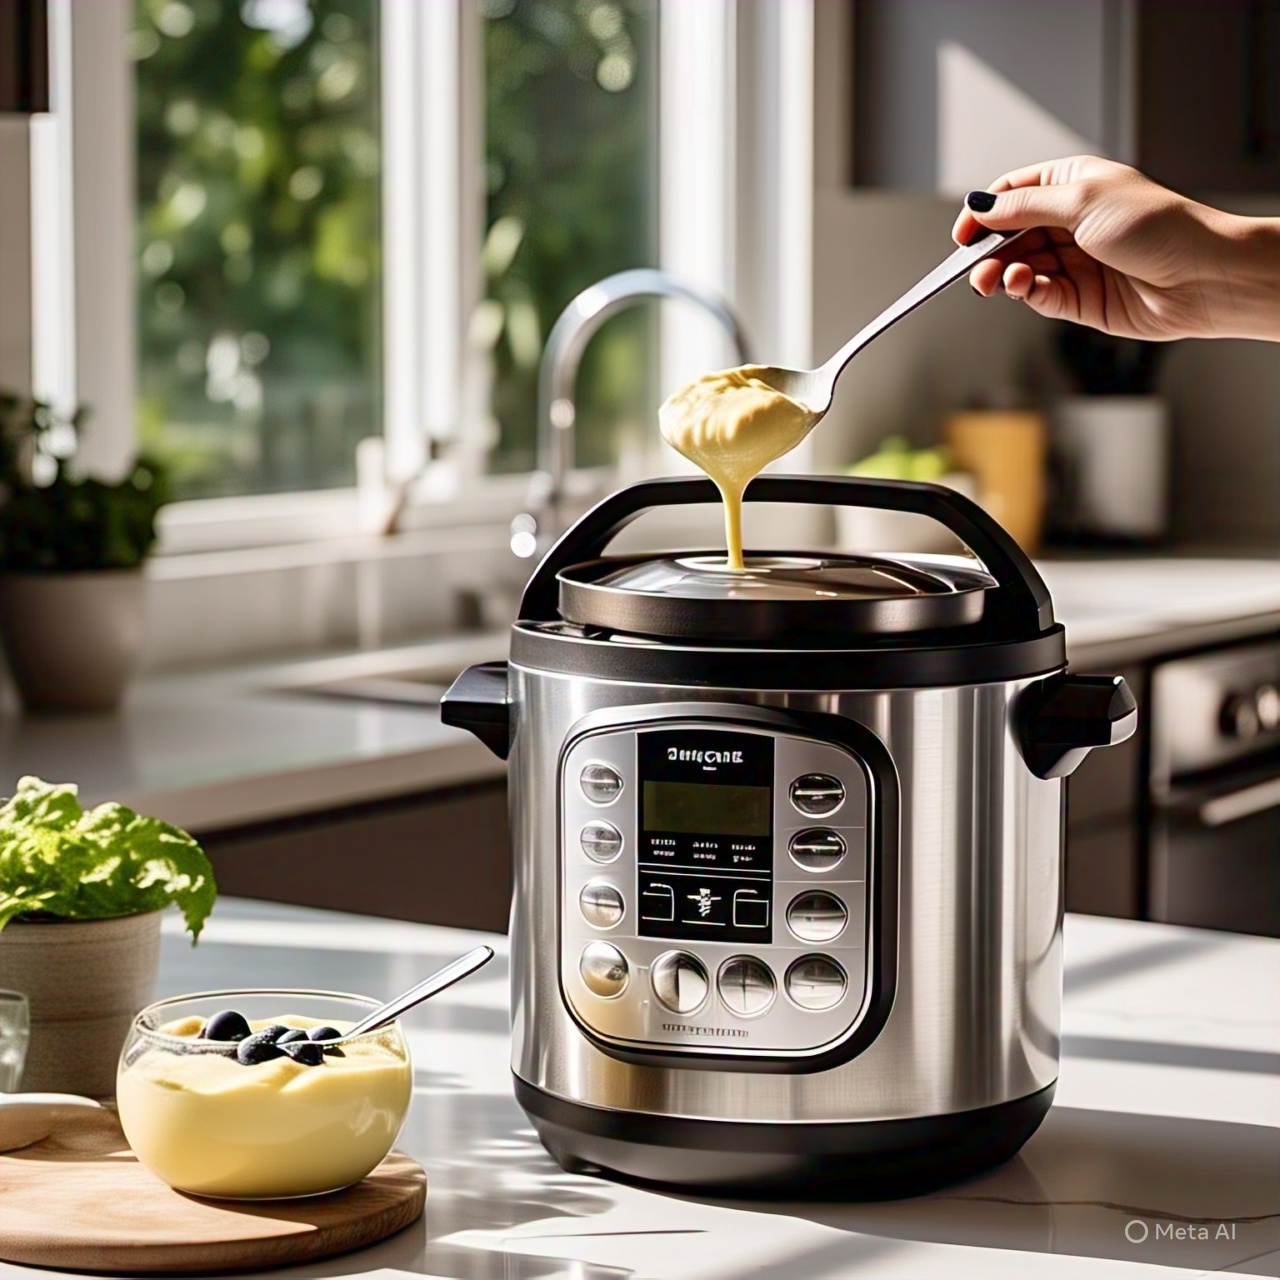
Making yogurt in the comfort of your own home has never been easier. Modern kitchen appliances have made it easier than ever to whip up a batch of delicious yogurt. This inexpensive and simple Instant Pot Yogurt Recipe will allow you to have fresh yogurt without preservatives whenever you like.
🧐 Why Are You Making Your Own Yoghurt?
-
Is more cost-effective than purchasing yogurt from a store
-
No added sweeteners or fake flavors
-
Modifiable to get the taste and texture you want
-
A delightful and satisfying gastronomic journey
🍶 What Is an Instant Pot Yogurt Recipe?
-
How to make yogurt in an Instant Pot using the “Yogurt” function
-
Utilizes milk and living cultures (like yoghurt starter or commercially available yoghurt)
-
Since the Instant Pot automatically controls the temperature, less monitoring is required
-
Homemade yogurt, which may be enjoyed either plain or with flavoring, is the final result. It is thick and creamy
🧾 Ingredients Required
-
To make it smooth, use half a gallon (8 cups) of milk. Whole milk is preferred
-
Live, active, cultured plain yogurt—two or three teaspoons
-
Flavourings (vanilla, fruit puree) and sweeteners (honey, maple syrup) are discretionary
🍽 Equipment You’ll Need
-
An Instant Pot fitted with a “Yogurt” button
-
With a whisk or spoon
-
Optimal but not required thermometer
-
For Greek-style yoghurt, a cheesecloth or sieve will do
-
Storage containers made of sterilized glass
🕒 Comprehensive Yogurt Recipe for the Instant Pot
1: Bring Milk to a Simmer
-
Add milk to the Instant Pot
-
Put the cover on (where the steam valve is located makes no difference)
-
Once “Boil” shows up, press the “Yogurt” button
-
Once the Instant Pot reaches a temperature of around 180°F, the milk will be added
-
The process takes around 30 minutes, and a beep will be made when it is done
2: Put the Milk in the Fridge to Chill
-
Once the lid is removed, let the milk cool to a temperature of 110°F to 115°F
-
You may speed things up by submerging the inner pot in cold water
-
To prevent skin development, stir occasionally
3: Add the Beginning
-
Get a bowl and pour in about a cup of the warm milk
-
Combine the two or three tablespoons of plain yogurt and mix well
-
Put the ingredients back into the pot and stir them gently
4: Preserve for Future Use
-
The Instant Pot’s inner pot must be replaced
-
After 8 to 12 hours, hit “Yogurt” again to start the timer
-
The incubation time of the yogurt is directly proportional to its acidity
-
Keep the lid covered and do not disturb during this time
5: Unwind
-
When the time for incubation has passed, put the container in the fridge
-
Let it cool for at least four or six hours
-
Thickness increases as yogurt cools
6: Restrict (Optional)
-
To produce Greek-style yogurt, strain it through cheesecloth for a few hours
-
Smoothies and baked goods are two possible uses for the leftover whey
7: Store and Serve
-
Spoon the yogurt into clean containers
-
Refrigerates for a maximum of two weeks
-
Optional toppings include fruit, honey, granola, jam, or both
📈 Yogurt Made Easy with the Instant Pot’s Precise Temperature Control
-
A thermometer may be helpful, but it is not required
-
Clears space on the stovetop
-
Less washing up and less chaos
-
Great for making a lot of food at once
💡 The Best Way to Use Your Instant Pot to Make Yogurt
-
Use whole milk for a creamier consistency
-
For a healthy start, always use plain yogurt with living cultures
-
Do not omit the boiling phase since it helps to eliminate any hazardous microorganisms
-
Make sure all of the tools are clean to prevent infection
-
In place of flavoured yogurt, serve plain, unsweetened yogurt as an appetiser
-
Keep the cover on to keep the temperature constant as it incubates
-
Stirring during incubation might change the texture, so try to avoid that
🍧 Flavoring Ideas
-
Vanilla Bean: Once cooled, mix in vanilla essence
-
Berry Bliss: Add pureed strawberries or blueberries
-
Honey Almond: Stir in the honey and cut almonds
-
Cinnamon Apple: Combine the apples that have been cooked with the cinnamon
-
Tropical Twist: Purée some mango and pineapple
🛠 Resolved Common Issues
Are Low-Fat Milk Options Available?
Sure, but the consistency will be thinner. For thick yogurt, whole milk is the way to go.
How Long Does Homemade Yoghurt Last?
It typically has a two-week shelf life in the fridge.
What If My Yogurt Isn’t Setting?
-
The milk needed more time to simmer
-
The starting culture is dead or has passed its expiration date
-
Too little time has passed during incubation
You may want to experiment with a different starter or a longer incubation time the next time.
Is It Safe to Consume?
If made and stored properly, it is far healthier than store-bought versions and completely safe to eat.
🧊 Preserving and Reusing
-
Secure in glass jars or plastic containers that do not contain bisphenol A
-
Keep a few tablespoons aside to use as a base every time you whip up a batch of yogurt
-
Freezing starter yoghurt could kill the live cultures, therefore it’s best to avoid doing so
⚖ Greek vs. Regular Yoghurt
-
Straining Greek yogurt removes any excess whey
-
More protein makes it thicker
-
The last straining step in the two versions of the Instant Pot yogurt recipe is the only change
💰 Homemade Yogurt Saves Money
-
Organic yogurt purchased from a shop may be purchased for $5 to $7 per container
-
Get 8 cups for about $2 with this homemade recipe
-
Big savings in the long run, especially for families or those who buy yoghurt often
🧘♂️ Yogurt Made at Home Has Health Benefits
-
No artificial sweeteners or preservatives
-
A sufficient amount of probiotics
-
A good source of calcium and protein
-
Improves digestive function and intestinal health
-
Boosts defenses
🍨 Possible Uses
-
As the base for a smoothie
-
In the morning, topped with fruit and granola
-
Rather than using sour cream
-
In dipping sauces
-
Garnish with almonds and honey for dessert
🌀 Possible Variations for Instant Pot Yogurt Recipes
-
Skipping dairy: Combine a plant-based starter with either almond or soy milk
-
Sweetened yogurt: Before incubating, stir the sugar into the yogurt
-
Flavoured yogurt: Put fruit purée or extracts into chilled yogurt
🧪 Dealing with Common Problems
How Runny Are You?
-
Think about stressing
-
Prolong the time of incubation
-
Use additional starter
Did You Say Too Sour?
-
Shorten the time it takes for the egg to hatch
-
Fresh milk should be used
-
As a first step, try a different kind of yogurt
An Authentic Grain Patina?
-
Gently mix in the starter
-
Incubate without stirring
-
Use high-quality milk
🔬 The Method’s Scientific Basis
-
Dangerous microbes are killed by heat
-
Cooling brings the temperature down to the optimal range for live organisms
-
After incubation, bacteria begin fermenting lactose into lactic acid
-
This process thickens milk and gives it its signature flavor
🔁 Yogurt Starter May Be Reused
-
Use what you’ve made
-
Use seven to ten days after purchase for best results
-
When you’ve made a few batches of commercial yogurt, it’s time to make a new batch
🛍️ Where to Get Ingredients
-
Cow’s milk: Local or organic farms
-
Yogurt starter: Grocery stores, online vendors, or health food stores
-
Flavourings: Easily available honey, fruits, and botanical extracts
-
Cheesecloth: Find in grocery stores or online
🌱 Making Yogurt in an Eco-Friendly Manner
-
Yogurt container plastic waste decreased
-
Bins that can be reused
-
Using foods that are closer to home could reduce food miles
-
You may either compost the whey or put it back into the food you cooked with
📝 Final Thoughts
Yogurt made in the Instant Pot is an easy, cheap, and healthy alternative. Whether you’re a culinary whiz or not, you’ll love creating your own yogurt since you get to put your own spin on it. After giving it a try, you won’t want to go back to store-bought ones.
✅ To Summarize
-
The recipe for fast pot yogurt is inexpensive, easy to make, and yields good results
-
When you make your own yogurt, you get to choose the ingredients, which means it’s healthier and tastes better
-
Complete milk with a premium starter will provide the best outcomes
-
Adjust the seasonings and textures to suit your loved ones’ tastes
-
Make use of your homemade yogurt instead of store-bought to reduce food waste
-
In little time at all, you’ll be making this meal often